Photo Technique – Combining HDR Images With Strobe Lighting To Get The Best of Both Worlds
When I am shooting a scene the that requires more dynamic range than my camera is capable of capturing, I often use a technique called HDR. There are many tutorials online about this technique, so I will not spend much time explaining how it works, but I will post links to some good HDR tutorials at the end of this post. The HDR technique is something a lot photographers use instead setting up strobes or hot lights, and many photographers get great results. However, when HDR images are combined with strobe lighting it opens up a lot of intriguing photo possibilities, because it allows us to include moving subjects in our HDR images.
There is an abandoned railroad tunnel here in Northern California that that I have always thought would be a great location for a photo shoot. The problem is that the tunnel is very dark, and I wanted to shoot with minimal lighting, because the tunnel is fairly remote and it is not possible to drive there. I decided to shoot the image in two parts and composite them in Photoshop. For this shoot I contacted fitness model Shinaya McGill and set a time. Then me, my assistant, Reed McClure and Shinaya headed to the tunnel.
Single Exposure

Here is a single exposure of the tunnel interior. As you can see, my camera did not have the dynamic range to contain all the information in the scene.
HDR

In order to capture all the needed information I placed the camera on a tripod and shot five frames in 1.5 stop increments. You can see the tone mapped HDR above. I used Photomatix Pro 5, but Nik HDR Effects Pro or Photoshop merge to HDR could have produced similar results.
Strobe Lighting

After I shot the fives bracketed frames with the camera on a tripod, I left the camera where it was and set up the strobes. I wanted the lighting on the model to look as if it was natural light coming from the tunnel entrance, so Reed and I placed one Lumopro 180 with a translucent umbrella in front of the model set at full power as the key light, and one Lumopro 160 with a translucent umbrella to the left of the model set at ¼ power as the fill. The strobes were fired wirelessly with with Radiopopper JrX transmitter and two Radiopopper JrX receivers.
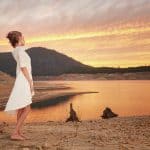
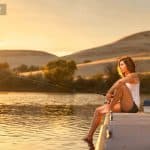
HDR image and the strobed image before being combined in Photoshop
 After the HDR was created and I brought the above two two images into Photoshop. It was easy to combine them because they lined up perfectly due to the fact that I shot both frames with the camera on a tripod in the same location. I place the HDR on the top layer and the image with the model on the bottom layer. Then I created created a quick mask, and painted in the model. In order to see the model, I set the opacity of the HDR layer to 45% while I painted in the mask. There are many different techniques to accomplish this sort of masking, and I will post a link to a tutorial at the end of this blog.
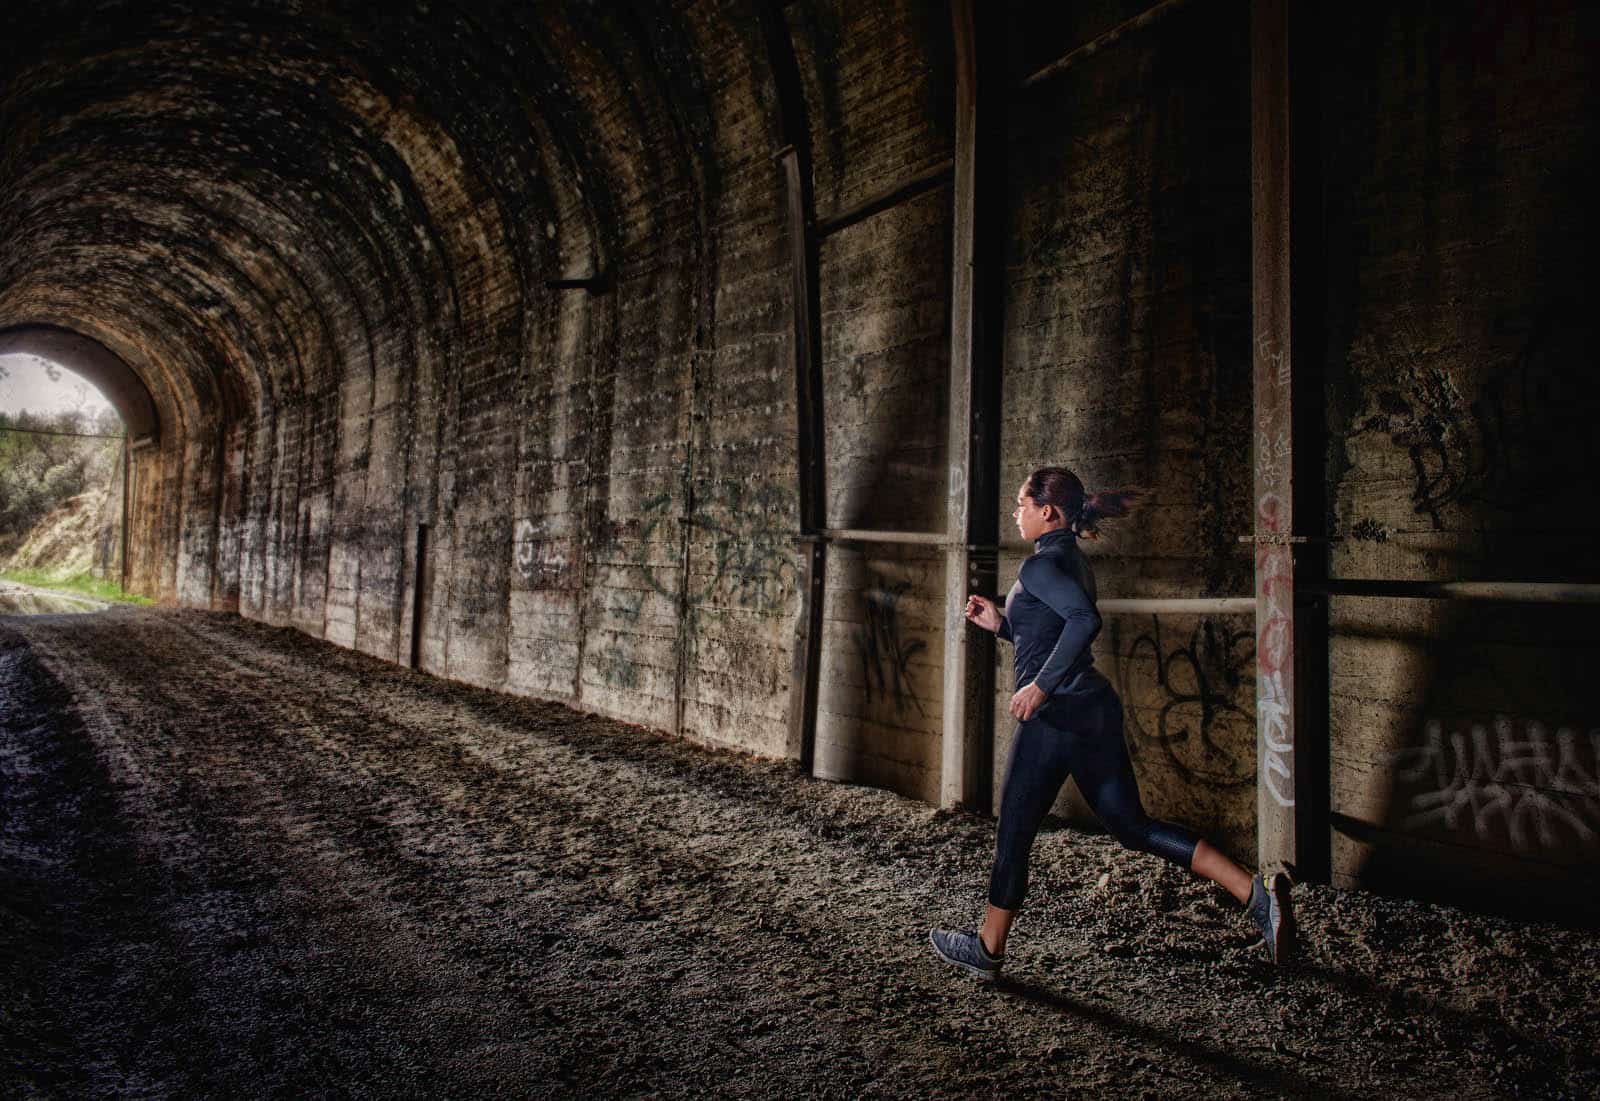
Here is the final image. After the two layers were combined in Photoshop, I used Nik Color Efex 4 to enhance the texture of the tunnel wall, and I did a final color correction and crop in Photoshop CC.
Final Image
 It is possible to shoot a subject in a studio, and place them over an HDR background in Photoshop, but when you shoot the subject in the same location you shoot the HDR, it is much easier to get a realistic looking image, because you do not have to worry about scale problems. It is also easier to mimic the natural light when you shoot both the model and the HDR background in the same location, because you can see how the natural light falls on a subject when you are on location.
HDR Tutorial Links
Photomatix Tutorial – https://www.youtube.com/watch?v=pys3sFHWVtA
Nik HDR Effects Pro – https://www.youtube.com/watch?v=gPgWCf5yCeA
Masking Tutorials
https://helpx.adobe.com/photoshop/how-to/mask-select-photo.html